

Hi dolls! ♡
My sister has been wanting to ombre her hair for a while now so she went out and picked up this do-it-yourself kit by Loreal for £6.99. You can find it here.
Since she wanted me to apply it to her hair (as she wasn't too confident about doing it herself) I thought I would also photograph and review the process for you guys too. Her hair is naturally rather black so it did turn a brassy shade. She's currently toning it with purple shampoo so we'll see how that goes :-)

This kit includes:
• Expert Brush
• Lightening Powder
• Developer Creme + Applicator Cap
• Lightening Creme
• Conditioning Shampoo
• Colourist Gloves
• Lightening Powder
• Developer Creme + Applicator Cap
• Lightening Creme
• Conditioning Shampoo
• Colourist Gloves
She also purchased a tinting brush from Superdrug for a more intense application to the ends of her hair. You can buy it here if you're interested.

Meet the guinea pig
Just a note if you're a hair-dye newbie - your clothes WILL get stained if any of the product touches it (in this case bleached!). So you'll be wanting to put on a tatty old t-shirt or other random clothes you don't really care for. I didn't take a picture of it but we also cut out holes for her arms and neck in a big black in-bag for extra protection. This was mostly to protect her skin from the peroxide - you don't really need to do this if you're using regular dye.
Our Set-Up

All set to get bleaching!
We cut out some plastic bin liners and laid them out to protect the floor from any spills. We cut up some foil to cover her hair after applying the bleach so that the process wasn't too messy - this is an optional step - it doesn't really add to the development of the peroxide. Okay, let's get started!
Preparing the lightener
STEP ONE:
Remove the lid and pour the lightening powder into the developer creme.

STEP TWO:
Add the lightening creme.

STEP THREE:
Replace the lid and shake it all up (not too violently!).

STEP FOUR:
Remove the nib straight away to avoid bursting. Now I took mine off immediately and it overflowed.. so I'd recommend shaking it up the old way by removing the nib and covering it with your finger. Whilst doing this just have small breaks in-between. This will allow any excess air to escape.
Application
Bye bye old hair!

Section your hair
The instructions that came with the box said to divide your hair into two separate sections. This is helpful if you're doing your own hair but we went in by sectioning the hair the usual way to make sure that all of the ends were covered.

Squirt the mixture onto the little brush the kit comes with and start to comb this through the lengths of your hair. We started beneath ear-level but you can go higher or lower depending on your personal preference. Long hair should start beneath chin-level for best results.
I couldn't picture the process as my hands were covered in the mixture - I basically just combed the mixture through the lengths of her hair focusing more on the end and used the tinting brush to really concentrate the bleach on the ends of her hair. I then wrapped each section roughly in foil to contain the mixture. When I had finished covering all of her hair I removed the foil after a few minutes and went over the ends again with the remaining mixture. I then left it to process for 35 minutes out of the maximum 45 minutes.

♡
Shampoo it all off!
We then washed it all off using the doddy little shampoo bottle supplied in the box. We used the entire bottle and it made a lovely lather :-)
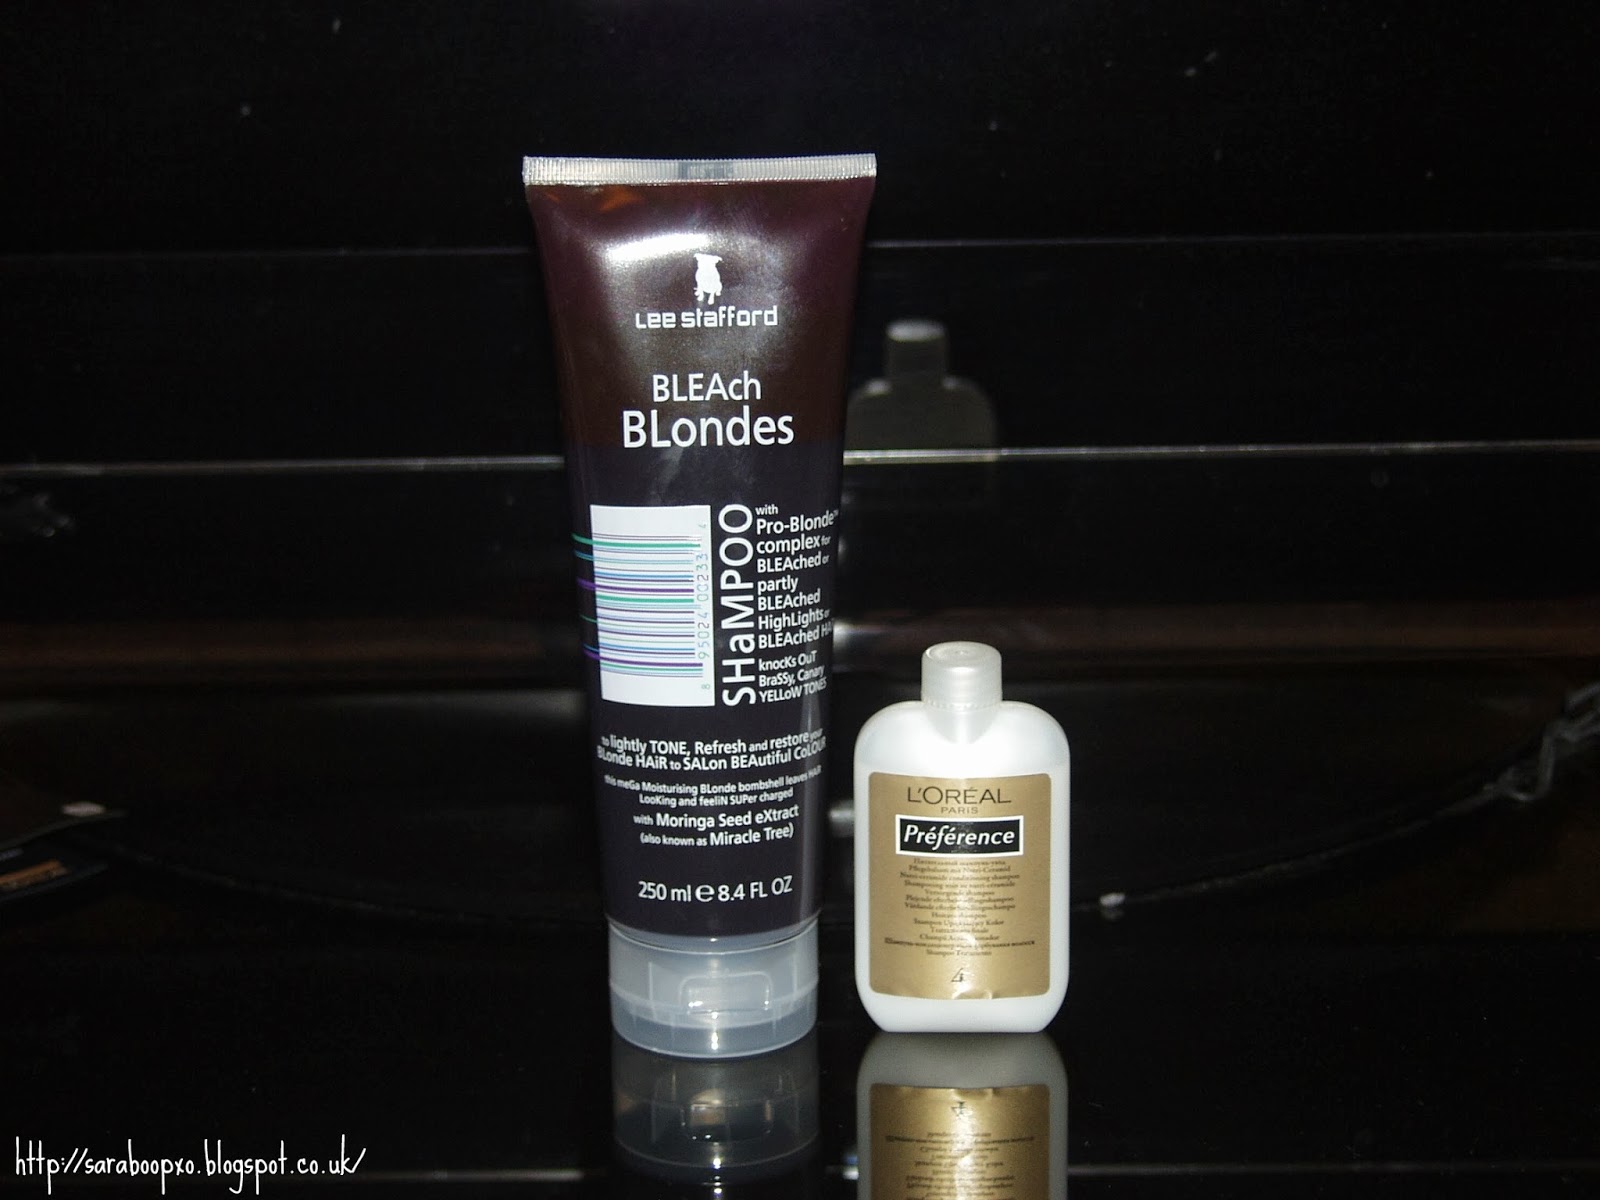
Since her hair is naturally very dark it had a lot of orangey tones to it as it had never been bleached before. So we applied some purple shampoo (pictured above) to her hair and worked that into her ends. This helps tone the colour and get rid of the brassy-ness.
I'd recommend using a deeply moisturising conditioner to follow to avoid frazzled hair. Aussie's 3 Minute Miracle Reconstructor Conditioner is a great choice. Apply it and then wrap your hair up in a towel - the warmth of your scalp helps the conditioner penetrate deeper into your hair.
Before & After shots

The after photo was literally straight after we'd washed and dried her hair. The colour's improved over the past couple of days (refer to pics below).


♡

♡

♡

Overall this product is great value as it is certainly far cheaper than a trip to the salon. I would definitely recommend going down the ombre route if you want your hair to be coloured without requiring a lot of maintenance work. Obviously with Sissy having very dark hair we didn't expect a super blonde result. However, I didn't quite expect it to be so orange either considering the box she bought had been specifically formulated for dark hair. She loves it herself but I don't think I would've been so pleased if it was my own hair! She is planning to go over it again in a month or so though - when her hair has had a little time to recover!
What do you guys think about how its turned out? Got any advice on achieving the perfect ombre for dark hair?

Looks gorgeous xx
ReplyDeleteAww thanks so much girlie! Will let her know you approve ;-) xx
Delete